Bridger: A Power Tools System for Kids & Beginners
The Story behind my Masters Thesis at Northwestern University
I Grew Up in a Construction Zone
My dad, who was trained as a shop teacher, built custom homes for a living. Between the child labor of me and my friends (and two or three other full-time helpers), it would take a couple of years to finish these houses. Once the house was 80-90% finished our family would move in. So with an unfinished house, and the minimal help, a lot of my time was spent on the job site and in the workshop. Living in a construction zone in a lot of ways defined who I was. I spent a lot of my free time in my dad’s shop building things, using my dad’s tools and learning how to work with wood and other materials.
When I moved out of the house and went to college, I began to realize how much of a privilege it was to have learned those skills and have access to those tools and that mentorship. I saw how people were intimidated by these tools in the shop. These tools, which in the right hands could allow people to build almost anything, were now barriers for people, keeping them from building out their creative ideas.
And that’s the premise that Bridger is built on: Making power tools and building more accessible to people. Bridging the gap between a creative idea on paper and creative things in reality.
How It Works: Project Kits + Tools
You start on the Bridger website by finding a project you want to build. To help you find something you like, projects can be categorized by category, completion time, and complexity. Once you find the right project, you place your order and the kit and the associated tools arrive at your door.
Find a project you like from the Bridger Homepage
Get the details and order from the project page
The tools, materials, and template get shipped to your door
When the kit arrives, just follow the step-by-step instructions printed right on the project template. They’re easy to reference and follow because they’re designed like a paint-by-number system. Over time, you’ll gain the tools and confidence to start building more advanced projects and even your own ideas from scratch.
Get Building! The instructions are right on the template.
You’re done! Enjoy your hand-built creation!
Arriving at Bridger: Research, Prototyping, and Iteration
Research: Lego Lovers, Shop Class, & Robotics Teams
Key learnings:
Meeting with Mr. Kulman (the middle school shop teacher) solidified the importance for hand-held tools. Digital fabrication is great, but there’s simply no replacement for the visceral experience of controlling a tool in your hand.
Toys (like legos and k’nex) are great tools for building creative confidence, but aren’t the bridge to real power tools.
Power tools are not toys. Safety is a paramount concern and often a big barrier for people getting started.
Prototype 1: The Rope Chair
Key Learnings:
Power tools were never design for the hands of a 10-year-old.
The Rotozip is better than the saber saw, but “free-handing it” is not a good option for beginners. There need to be physical guides.
Kids love making stuff, even if it’s not perfect or totally functional. There’s a huge sense of accomplishment with things YOU made.
Threading rope takes a lot of time. Time for a new design.
Prototype 2: The Stacking Stool
Modified base plate with guide feature for the template.
Cardboard template.
Stacking Stool build with Sam & Miles. Jump to 8:47 for clips from the post-build interview
Key Learnings:
Cardboard is cheap, and it gets you close, but for a first timer or multiple uses, it’s not robust enough for a template.
I had to step in and answer a lot of questions. The printed instructions need to be more clear.
Exposed blades are manageable but
Prototype 3.0: The Rocket Table
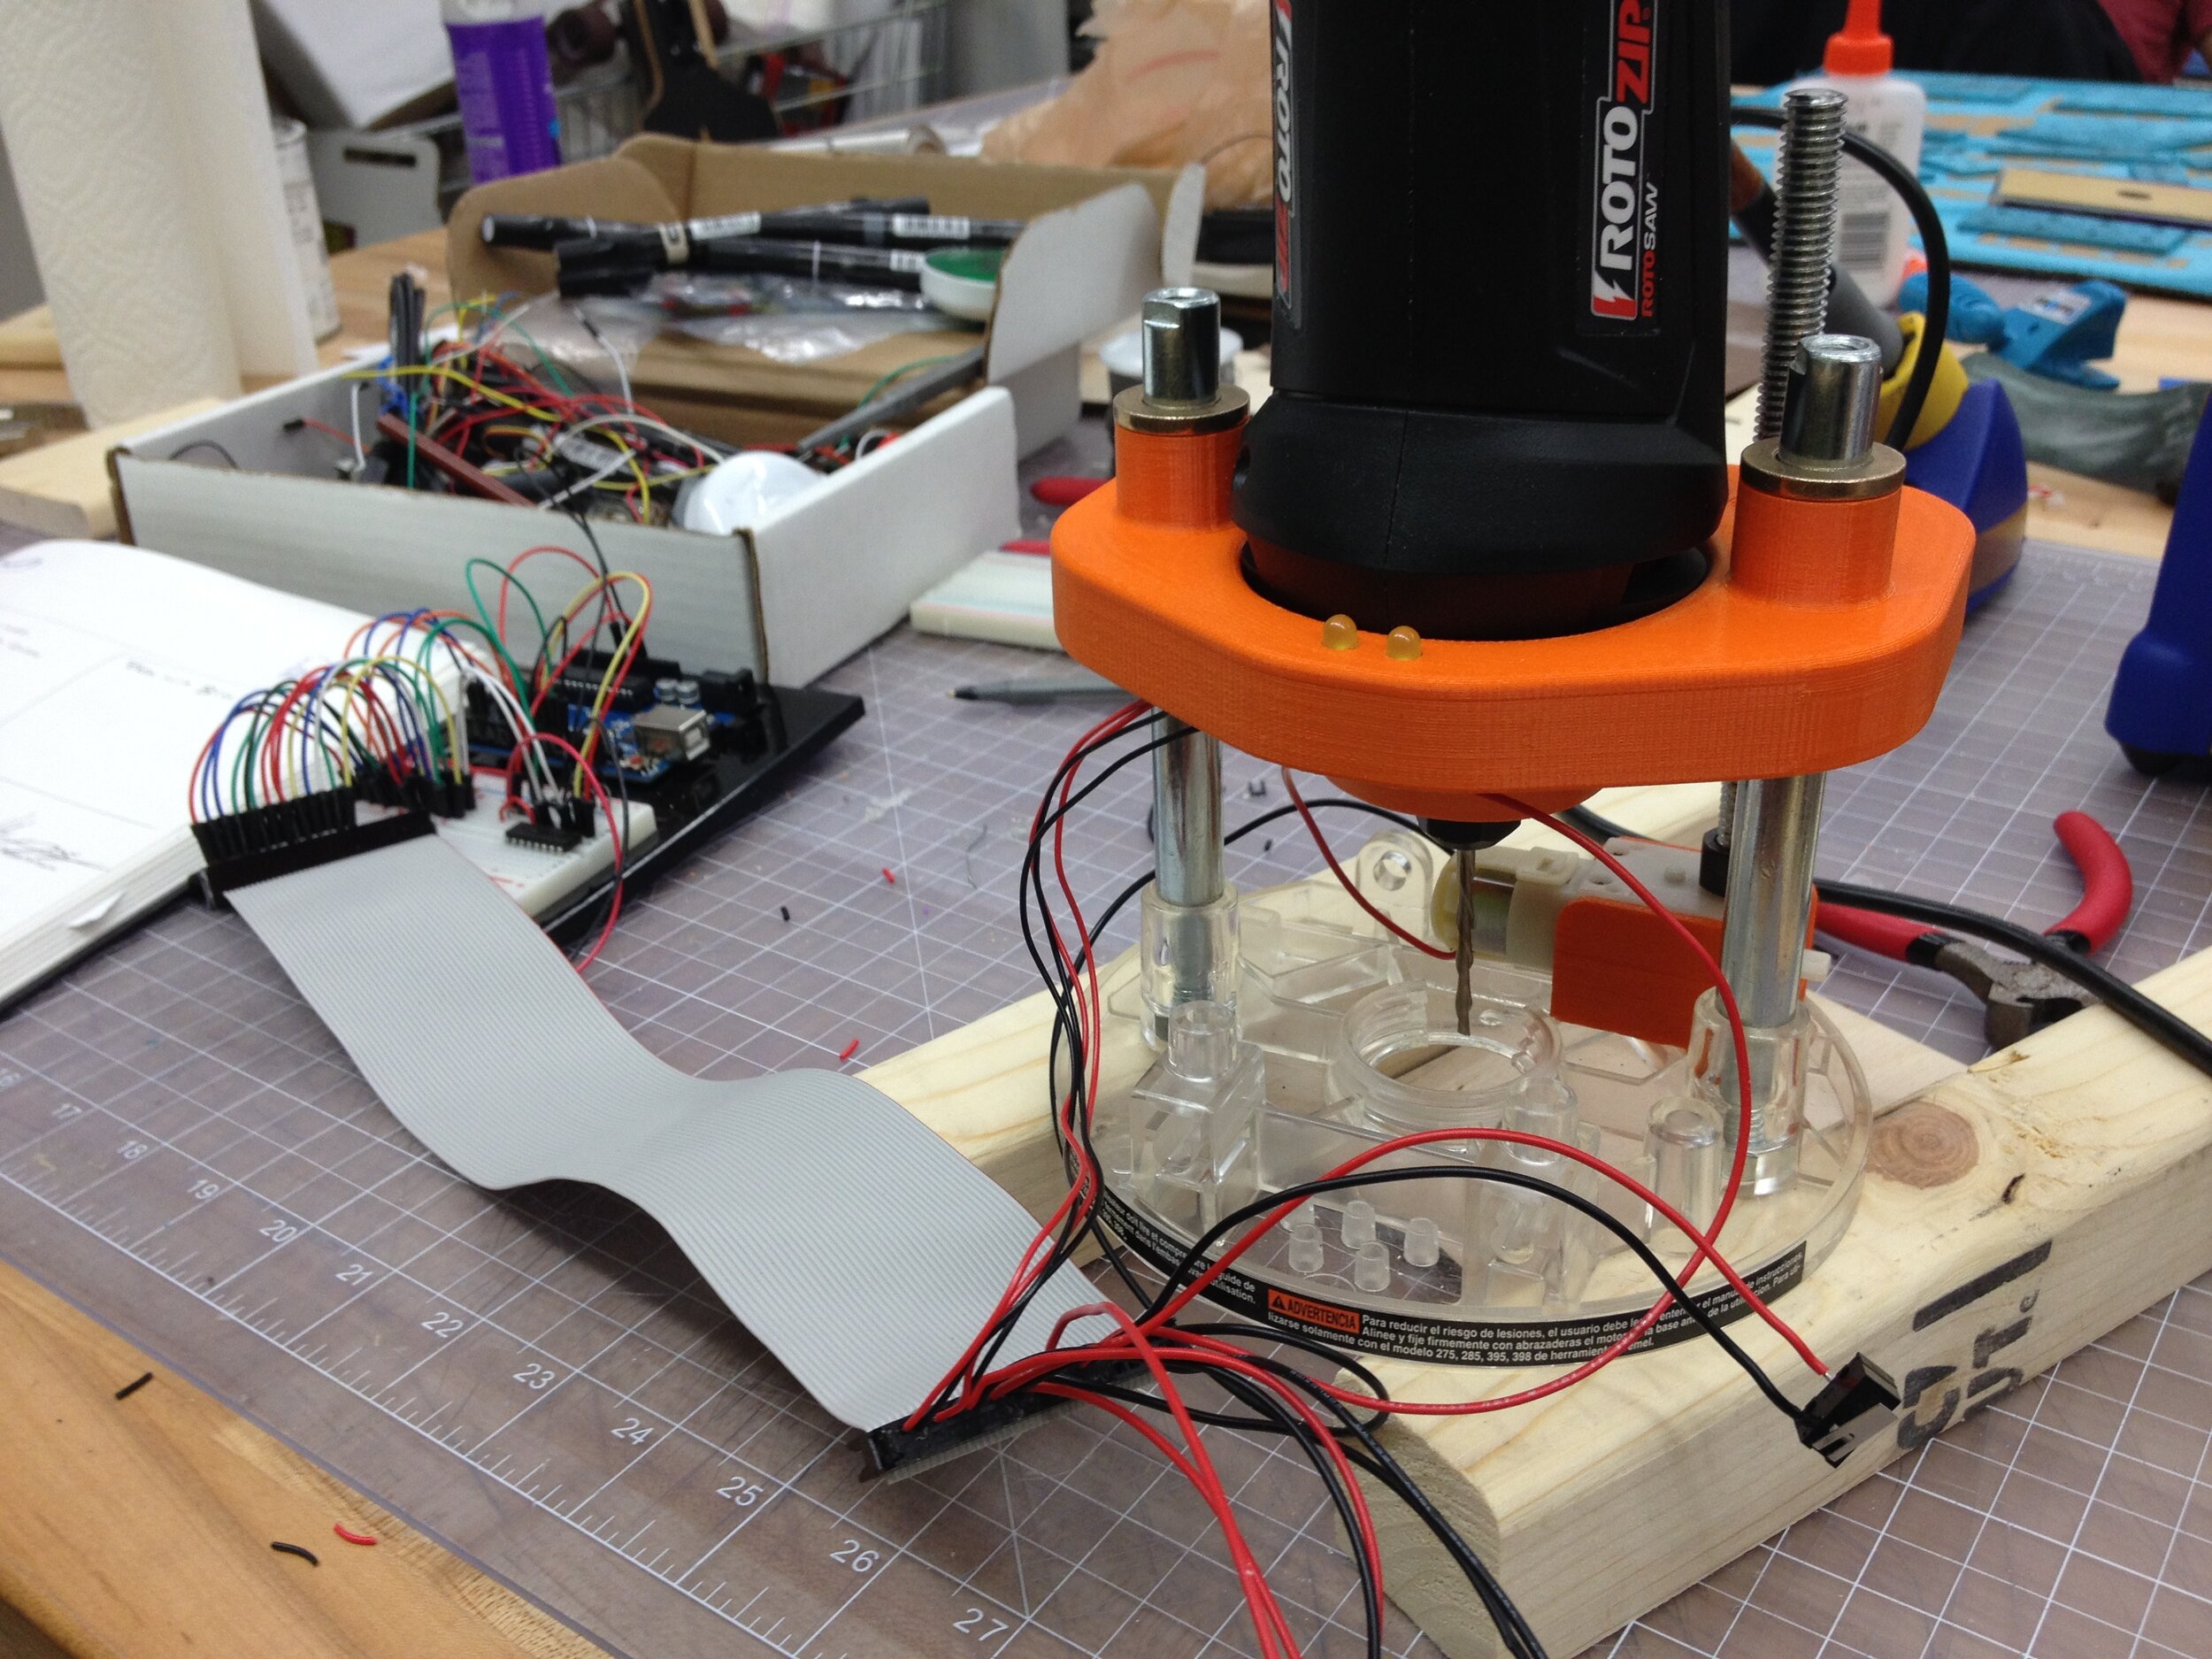
Prototype 3.1: Auto-Plunging Tool
Just for Fun
Bridger Tools Teaser Video
Tell me about something you built as a kid…
Thesis Presentation
Master of Science, Engineering Design and Innovation (EDI) at the Segal Design Institute. Student thesis presentations.
(Jump to 1:28:17 for Bridger)


